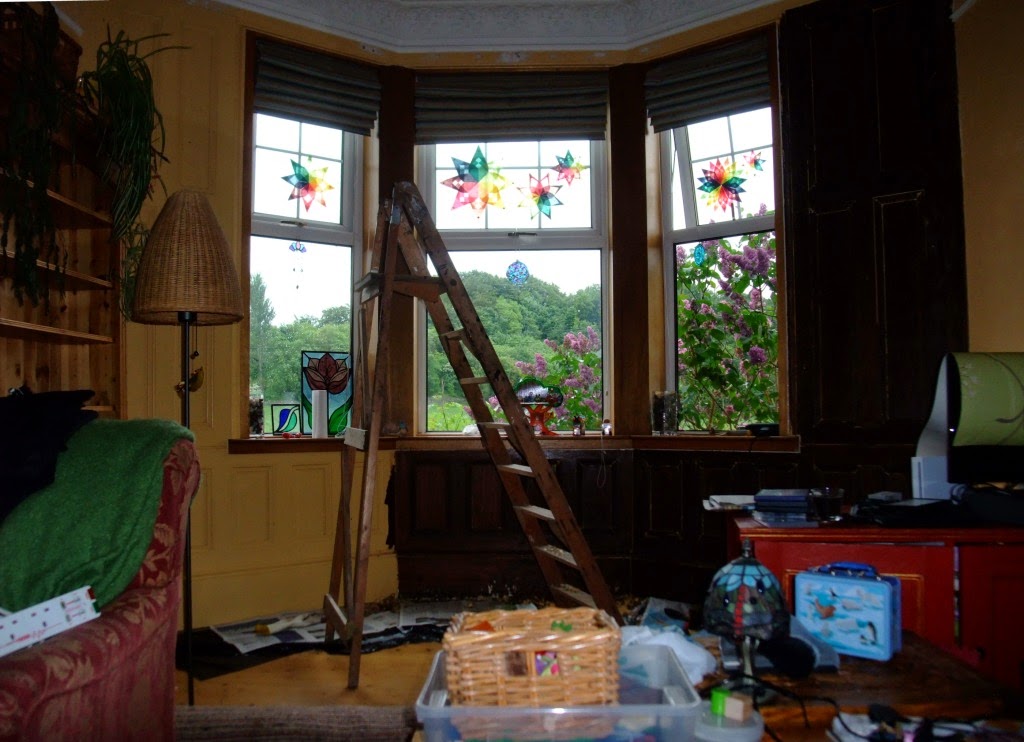
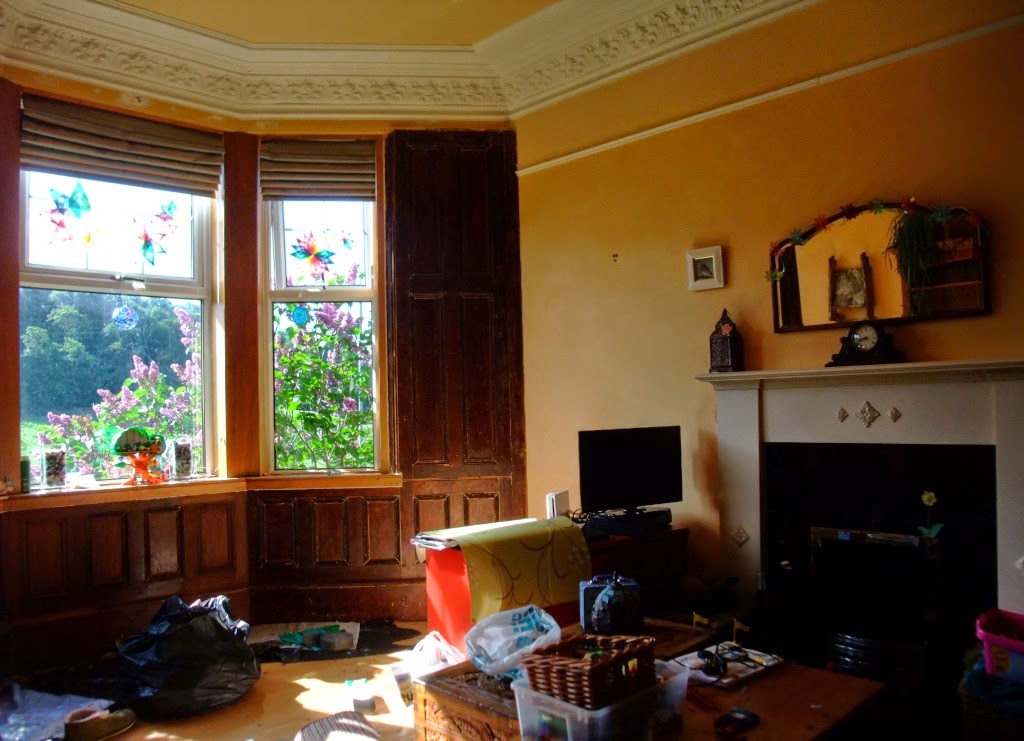
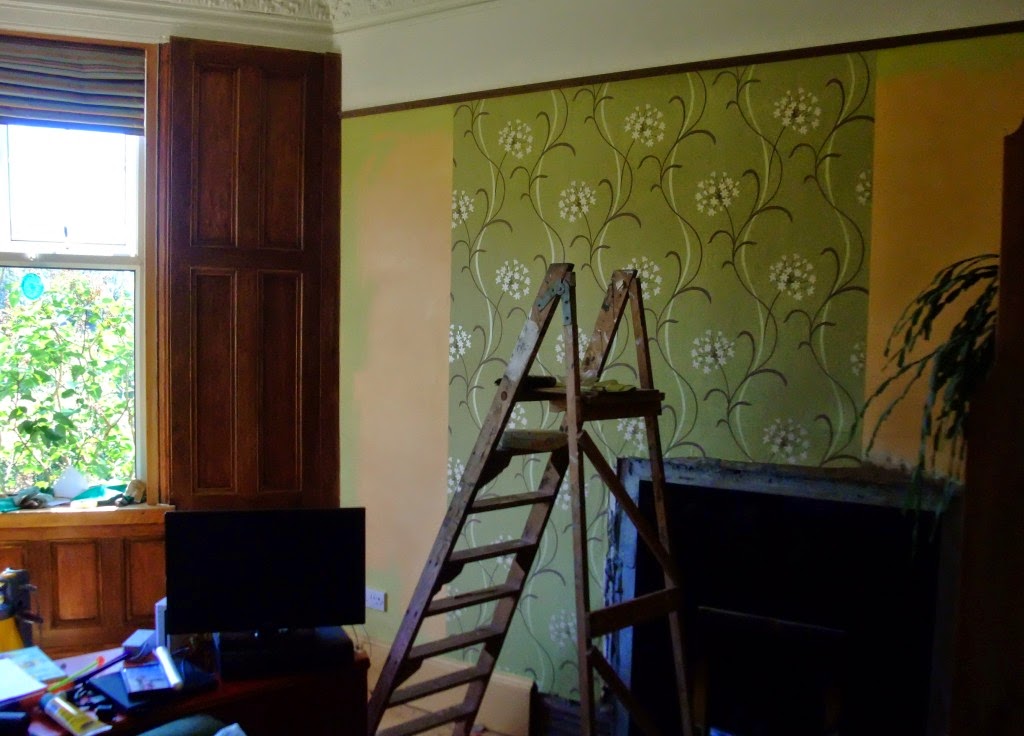
Now, I did really like the living room as it was. However, what you don't see in the photos is how chipped the paint was on the woodwork round the windows, nor the bubbled patch on the wall where water was unable to evaporate from an area I'd used a decorative glaze on, or the loose skirting boards either side of the fireplace which were always falling over, or the holes above the windows still to be filled in after the curtain pole fell down. Nor can you feel how cold it was in winter. We'd stripped the floorboards shortly after we'd moved in - it looked fantastic but, brrr, it could be very draughty. You couldn't actually see the floorboards anyway as they were covered in the end by two rugs in an attempt to cut down on the draughts. We decided after last winter that we'd get a carpet fitted. If I was going to clear the room in order to have the carpet fitted I felt I may as well re-decorate while I had the chance. Also, I'd always had a notion to strip the paint on the panelling round the windows. We'd already stripped the paint on our banisters and on our bedroom window so I had some idea of the work involved and knew it would not be easy, quick or pleasant. Still, I made the decision to go for it...
I used a hot air gun to remove the paint. I then had to use Nitromors to remove the old Victorian varnish which lurked under the layers of paint. No going back now!
A little more done. What a mess!
I've gone over the two panels on the left with the Nitromors which is why they look paler than the others. The hot air gun was very effective at removing the paint though it was tricky to get into all the nooks and crannies. The varnish melted with the gun then set like toffee, yuck!
One side now stripped of paint, though not yet of varnish.
Another photo of the panelling after the paint has been stripped. In this picture you can also see the peachy coloured ceiling (not noticeable in most of the photos I'd taken before) - that will be changing soon too.
Here you can see that I've now stripped all the paint and most of the varnish - just the panels under the rightmost window section to be done. You can also see my paint samples on the left for the new wall colour.
Getting ready to paint the ceiling and above the picture rail...
First coat on.
Now the first wall gets its new colour.
Old and new colours together.
I've removed the mantlepiece and I've only painted the edges of the fireplace wall because...
...I'm wallpapering! I haven't papered for years, and when I have it's always been plain paper to cover lumps and bumps and which I'd always painted later. This paper's not for painting over and I need to match the pattern, how exciting!
Another two pieces up, going OK so far...
Done! I've also put the mantlepiece back up and painted the skirting boards.
At this point it was like having a secret sitting room as all you could see when you walked in the room were the backs of the bookcases - only when you peeked between them, or walked round the edges could you find the sofa and fireplace.
Now we've cleared the room for getting the carpet fitted. This is the only stage I had help - hubby gave me a hand to move the bookcases and sofa, everything else in the re-vamp I did completely by myself.
Look at those lovely floorboards. Sigh.
I was in a rush to get the furniture back in so forgot to take a photo of the empty room with the carpet fitted. We picked a neutral-coloured wool berber carpet (allegedy on sale).
I really like the room now and it does feel cosier with the carpet. From the "secret sitting room" arrangement we decided we liked the sofa in the middle of the room opposite the fireplace, so that's where it's staying for now. We have also removed the coffee table (now we can stretch our legs out!). However,I don't think the room photographs as well now as it did before. It looks very green, but isn't as bright a colour in real life. Anyway, here we go...
I like being able to walk straight into the room past the back of the sofa. (The carved Indian table which the lamp is on was a charity shop bargain at £10, I've seen similar in catalogues for over £100)
It looks very busy here - honestly, the colours are more muted in real life!
Cosy carpet.
We've kept one of our rugs, it feels very luxurious over the carpet.
It's hard to photograph the panelling round the window as that's where all the light is coming in.
This sofa used to sit across the front of this bookcase. Now we can get to the shelves easier but it's not so good for hiding the mess!
White ceiling, boring I know but it seems to make the lumps and bumps in it less noticeable.
So there you go. I got a great sense of achievement in doing this and I'm glad it all worked out OK. It took me about three weeks, four if you include adding the all the books etc back in. Because it was a gradual change I didn't really get that "wow, it's all different feeling" when walking into the room, but it still feels good!


15 comments:
Looks lovely especially the panelling - well worth the effort!
I think it looks fabulous!!! You have done so much work to get it looking so pretty and comfortable. I like the way that you matched the paint colour to the background of the wallpaper. Your table was a bargain indeed! Hope that you love it for a long time!! xx
it looks great! I'm not a fan of wallpaper, but I love yours, it really looks good, and I love the wood you've uncovered. The ceiling looks spectacular, I love the detail on it. You've really worked hard!
Yes stripped floorboards look lovely, but the draughts are terrible.
I LOVE that wallpaper and the green paint too, it looks fabulous!
A job well done, good for you. Your room does look good. I have never liked decorating and always pay someone to do it for me.
Your room looks lovely Anne, well done on all your hard work and wallpapering skill....I love the design and colour you chose.
Jacquie x
It looks incredible, just lovely. And I love the white ceiling, it sets off the beautiful wallpaper and shelving just perfectly. Such a huge amount of work but it was worth it all as it turned out so beautifully.
Hugs,
Meredith
Your makeover is fantastic and congratulations for doing almost all the work yourself, it's a big job. I love your new colours, that green wall paint and delicious wall paper. The white ceiling isn't boring in my opinion, it's perfect. Thanks for sharing.
Anne xx
Love it, it's gorgeous. You have got me thinking about paint our lounge, roll on Spring I say.
it'a gorgeous and such a lot of hard work! xxx
Wow, what a lot of work, but its paid off, it looks lovely and cosie, I miss carpet, its just not practical for me with two ageing cats.....so I can understand why you had it fitted, it completely transforms a room doesn't it, and yours is stunning.
Wow, it's beautiful, I really love the colour of the walls. It's one I've used a couple of times round here, a real favourite. You've worked so hard, especially stripping all that paint and varnish, you should be very proud of what you've achieved. It's a really lovely room, it must be such a treat to relax in. Well done you! CJ xx
Whoa! I can't believe you stripped all that paint and then the varnish too. What a chore. And it looks so good! I love the wallpaper. I think wallpaper is so adventurous. I really love what you have done with this room!
I would be very comfortable in this room....The sofa does look better in the middle of the room.
Followed a link to this post ... wow! It all looks fantastic. Probably old hat to you now, but so fun to read about and see the transformation taking place. What lovely cornice moulding, and the umbellifer wallpaper is perfect. :)
Post a Comment